
DIY | Latex Neck Gasket Replacement
Jun 01, 2020
Replacing a neck gasket may seem daunting at first but these simple steps are all that stands between you and a silky smooth neck gasket experience. Let's get started!
Materials needed:
- Aquaseal and Cotol.
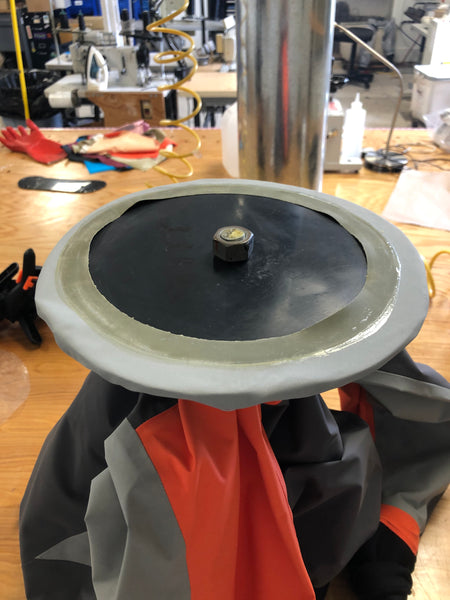
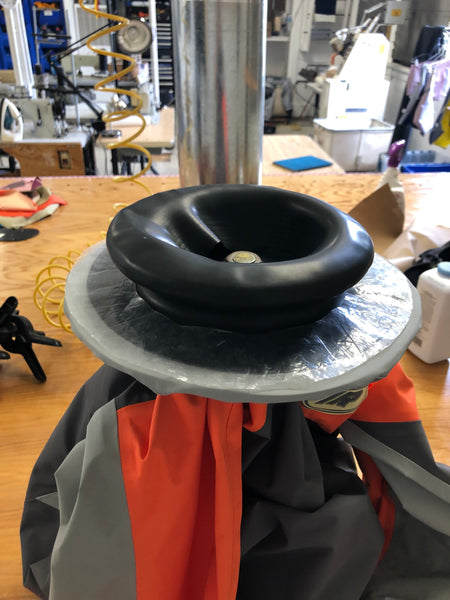
- Circular form to place the neck on. We use a 11.5" diameter plastic board. If you plan on using wood attach plastic to it so the aqua-seal is able to release. Try to use a decent plastic bag, not a grocery bag.
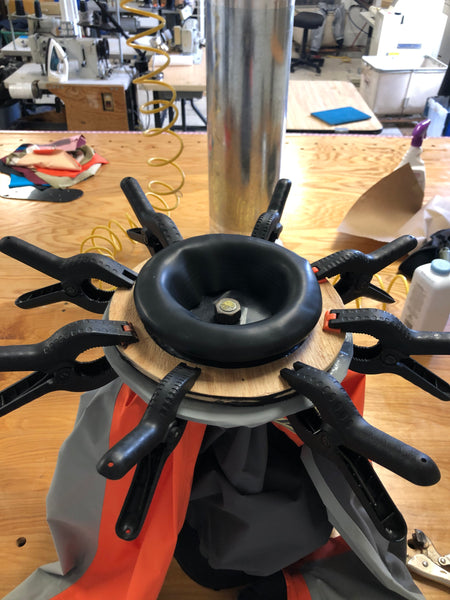
- Wooden form to clamp the gasket down. We use a 10.5" diameter O that is 1.5" wide. Ours also has a layer of neoprene attached to help deal with any irregularities.
- Plastic ring wider than the wooden O to keep the Aquaseal from sticking to it.
- 8 clamps to evenly apply pressure on the gasket.
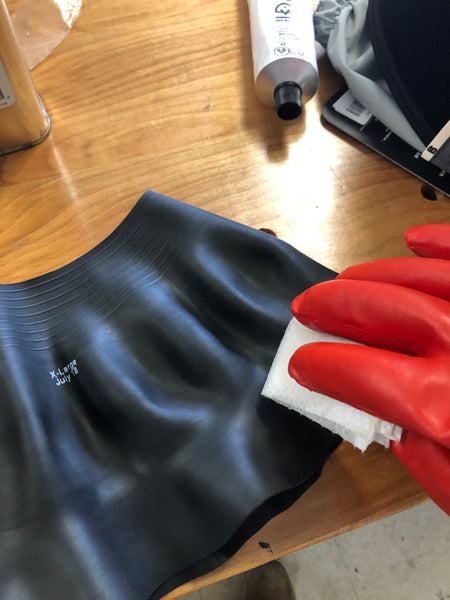
- Nitrile or better gloves and a mask, preferably a respirator.
- Latex Neck gasket. For more information on sizing, click the link, and check out the size guide below the size options.
Gasket replacement:
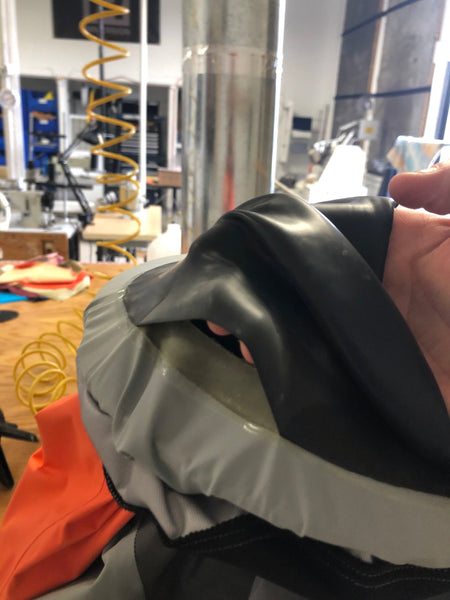
- Place the garment on the form and stretch the neckband over starting at one edge until only the fabric with the gasket on is left on the top.
- Remove the old gasket by pulling where it meets the fabric. Carefully work your way around until it is removed. If the gasket tears you can either continue to try and remove it or cut along the fabric.
- It is important to wear a mask and gloves anytime the Cotol or Aquaseal is being used. If you have to leave any gasket behind, wipe it with a bit of the Cotol that comes in the Aquaseal kit, rubbing alcohol can work as well. Remove any loose pieces of Aquaseal from the fabric.
- Wipe the new gasket with Cotol to clean it and let it dry so it will properly adhere.
- Using a finger cot or glove spread the new aqua-seal around the footprint of the old gasket. Spread a little wider than the old aqua-seal marks if possible.
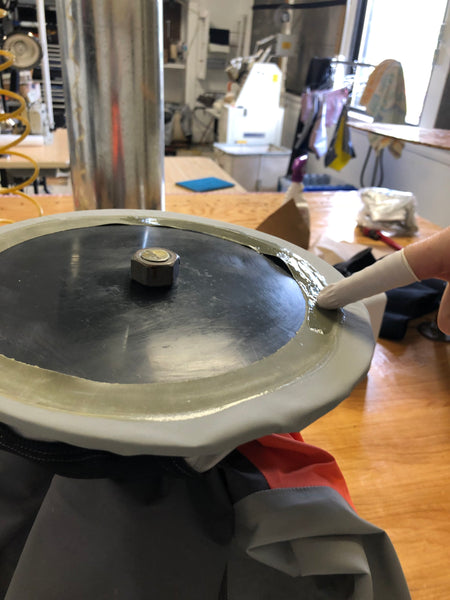
- Apply the gasket to the form and make sure to get an even seal. Put the plastic then the wooden O on and make sure the footprint overlaps the whole gasket.
- Clamp the wooden O down to the form. Depending on temp and humidity leave 1-2 days before removing from the form. It should easily detach from the plastic. Stretch the neckband back over the form and remove.
- Check both the inside and outside of the gasket to ensure proper bonding. If there are any visible issues you can apply Aquaseal to each spot with a finger cot. Again let dry for 1-2 days before use.


Caring for your gaskets is the next step, simple steps to lengthen the life of any latex gasket can be found here.
If you decide you need to trim your gasket instructions on that can be found here.
